Fitting a Centre Hatch by David in Sweden
When I bought my X-Factor it was a basic with no center hatch. So I orderd one and rivets and 3 hours later new center hatch. Fully sealed.
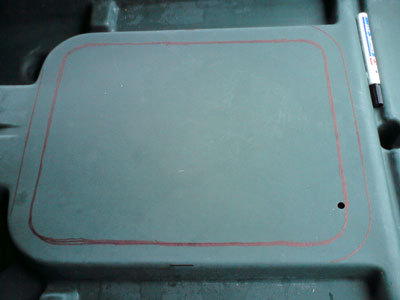
Stage 1
Placement.
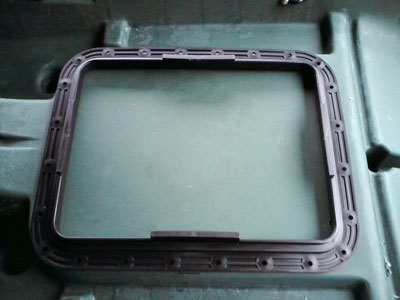
Stage 2
Placement Confirmation.
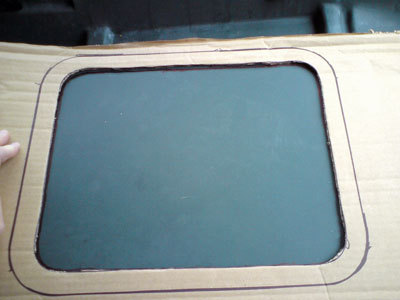
Stage 3
Inside of Hatch Template, 3mm undersized to allow for mistakes.
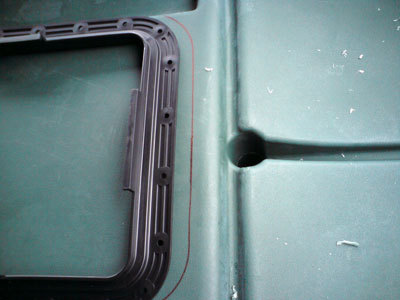
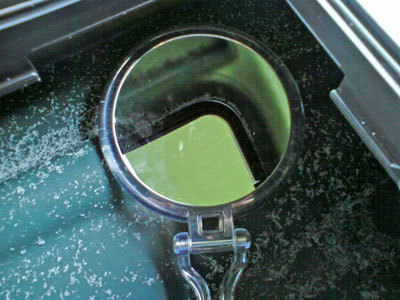
Stage 4
Confirming place ment of cut line with hatch gasket.
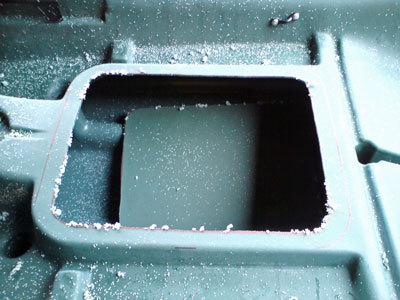
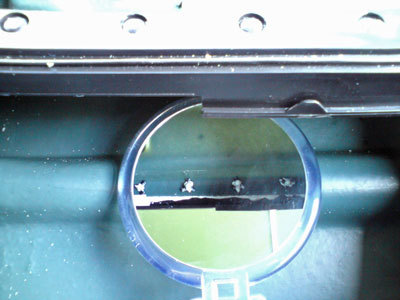
Stage 5
Start Hole.
Stage 6
The Cut, with a jigsaw and a new finetooth plastic sawblade.
Stage 7
Checking the internal fit and adjusting with a file and sand paper.
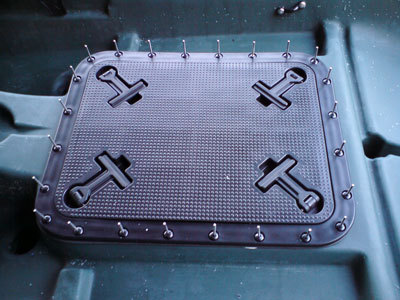
Stage 8
Using rivets to keep the frame in place as I drill.
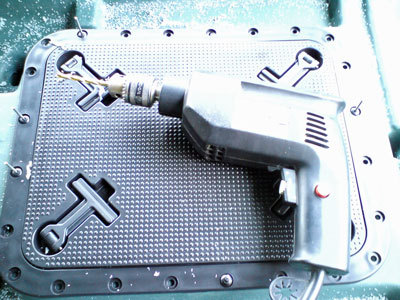
Stage 9
Ready to fix.
Sorry no pics of the application of the sealant, i applied sealent to the deck of the yak covering the holes i had drilled. Then placed the gasket on the sealant, placed sealant around the inside lip of the hatch frame. Applied this to the deck of the yak and the placed in all of the rivets.
Stage 10
Checking the sealant.
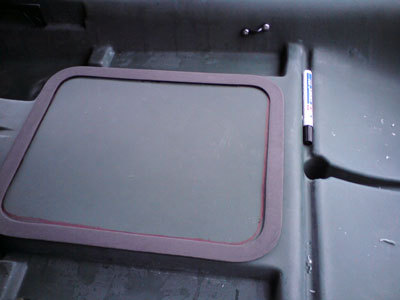
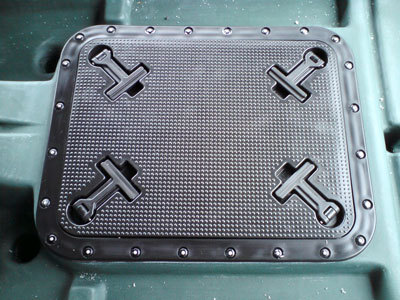
Stage 11
The finished center hatch.
Disclaimer:
Installing hardware may cause damage and/or void manufacturer warranties. The information we provide is a free reference guide only. The author of this information, sponsors and the owners of the website that host this information are not liable for any problems or issues that arise from the use of this information. Users of this information hereby acknowledge that all use of this information is done by their own free will, at their own sole risk, understanding that injury or death could occur.