Fitting Ocean Kayak's Flush Mounts
You may be thinking, why show the installation of flush mounts again, well this time round we are using Ocean Kayak's Flush Mounts.
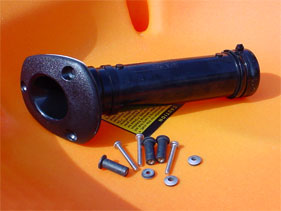
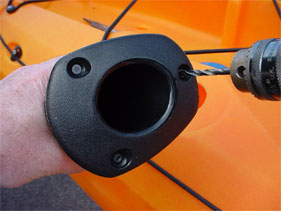
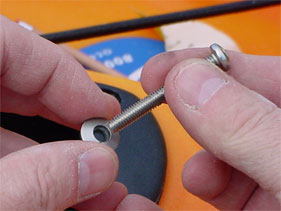
The Ocean Kayak Flush Mount pack contains 2 x Salty Dog Flush Mounts both with ends already sealed with a rubber cap, fixed tightly in place with a cable tie. 6 bolts, metal washers with rubber inserts, and 6 well nuts which allow fixing without access to the inside of the hull, brilliant.
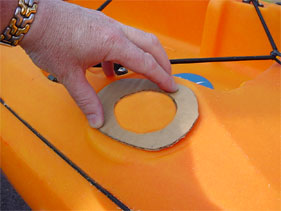
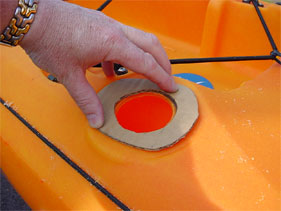
Start by making a cardboard stencil, cut a 50 mm hole into a piece of cardboard, push the mount into the hole, pressing the card tightly to the base to give the oval shape of the flush mount, draw around the top of the mount to give the overall shape. Trim the card to make the perfect template.
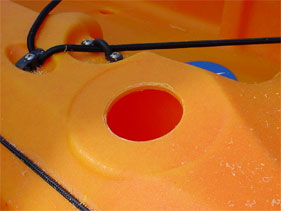
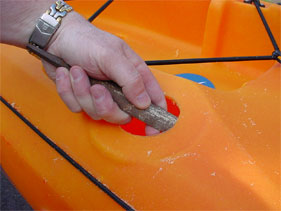
Place the butt of your fishing rod with reel attached, into one of the flush mounts, align the mount with the chosen area, with the Prowler we have 2 circular areas designed to take the mounts so all we need to do is check that the rods will be at the desired angle and clear of the paddle arc, This is a personal choice so sit in your kayak pretend to paddle and see how far back your stroke travels, have someone hold the rod in position to check your clearance. Use your card template to mark the position.
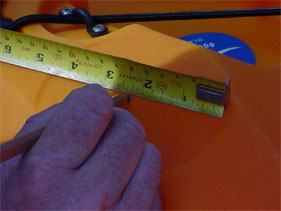
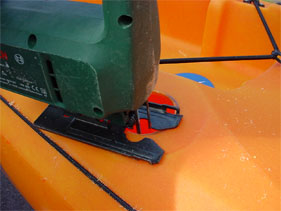
To make things easier when fitting the second mount, I marked the centre of the deck recess, a 50 mm hole cut in this position proved perfect, place the template back into position to check and remark the shape of the required hole. Any excess can be trimmed with a jigsaw or filed.
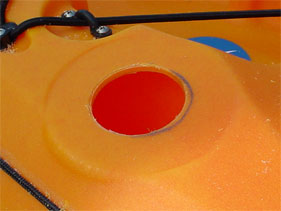
The hole must then be shaped to accommodate the sharp angle at the front and rear of the flush mount tube. Keep filing and refitting the mount until it is flush with the deck, clean up the hole, removing any burrs, taking your time to make a tight fit will mean less chance of a leak.
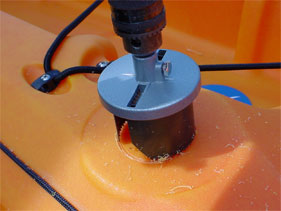
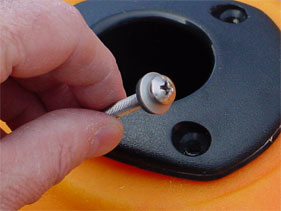
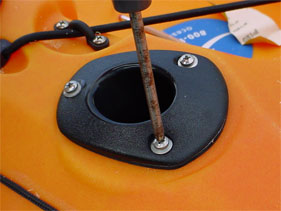
Using a 11/64" drill bit, drill through the gasket on the base of the mount. Place the mount in position and whilst holding firmly in place, drill each hole in turn, marking the position for the well nuts.

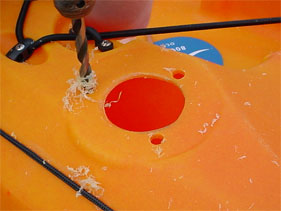
Drill 3/8" holes for the well nuts using the previously drilled marks as a guide.
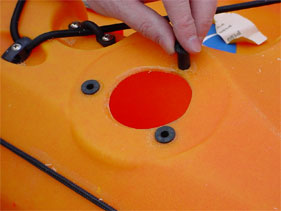
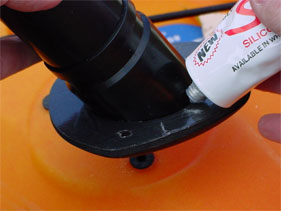
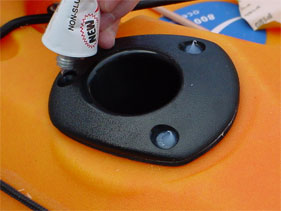
Put a blob of Silicone Sealant over each of the holes and push in each well nut.
Place a washer onto each of the bolts, metal side up.
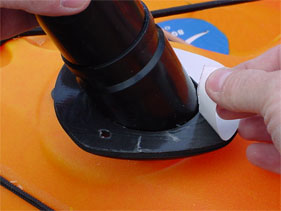
Remove the paper from the foam gasket on the underside of the mount. Squeeze a large bead of silicone sealant around where the tube fits the mount to help seal the hole when in place. Fit the mount into position, check alignment of holes with the well nuts below, press firmly in place. Put a blob of sealant into each hole on the mount, insert the screws and tighten, wipe away the excess sealant.
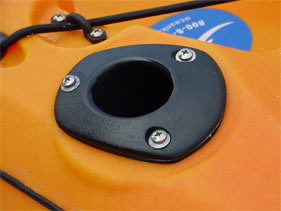
Allow the sealant to dry for a day and then retighten the screws.
Disclaimer:
Installing hardware may cause damage and/or void manufacturer warranties.
The information we provide is a free reference guide only. The author of this information, sponsors and the owners of the website that host this information are not liable for any problems or issues that arise from the use of this information. Users of this information hereby acknowledge that all use of this information is done by their own free will, at their own sole risk, understanding that injury or death could occur.