Fitting a Humminbird Fishfinder/GPS
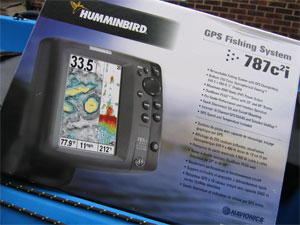
Humminbird 787c2i.
With the Trident's Sonar Shield and Transducer moulding in the starboard front scupper hole, fitting a fish finder is made reasonably simple. The transducer moulding in the front scupper is designed around the Humminbird XTH 9 20 Thru-Hull Transducer kit which is compatible with many of the popular Humminbird Finders including the 787 Ci2 GPS/Finder which we chose for our Trident Project. The Humminbird 787 Ci2 gives the benefit of being compatible with Navionics excellent chart system.
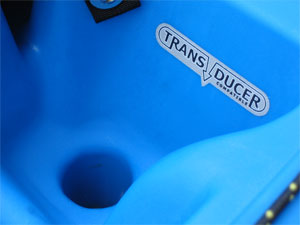
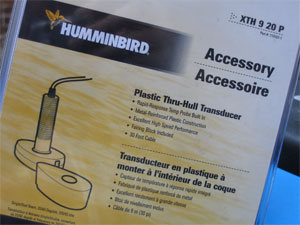
The Tridents tranducer compatible scupper hole and the required transducer kit.
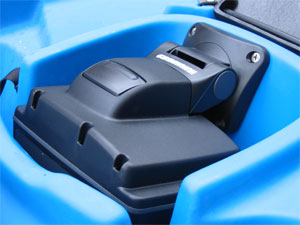
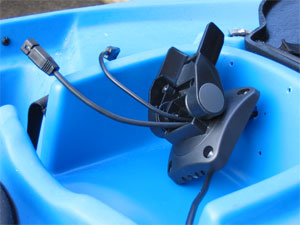
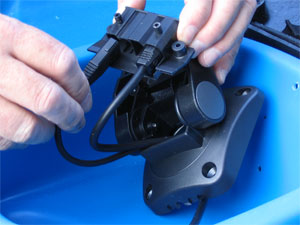
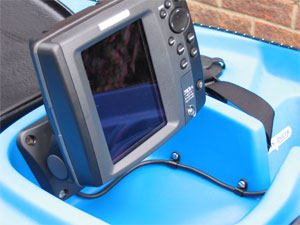
The 787's display is as large as you can comfortably fit under the Trident's Sonar Shield and the first job was to find a position where the screen could be folded nearly flat for storage, this meant fitting the base close to the top of the storage area.
Holding the base tightly in the optimum position, the first hole was marked, drilled and a counter sunk screw fitted to hold the base in place, the other holes were then marked and drilled.
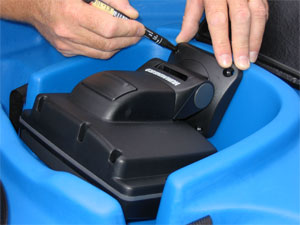
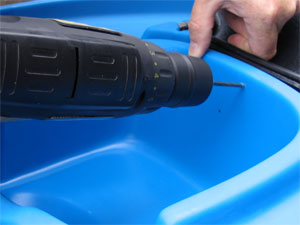
Positioning display unit, marking holes and drilling.
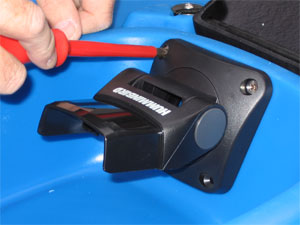
Fitting top bolts before marking and drilling bottom set.
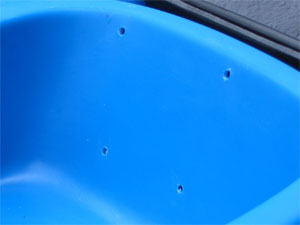
All four holes drilled for base.
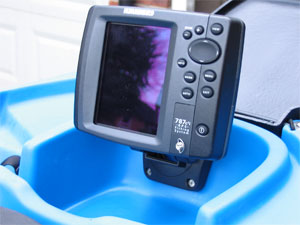
Fitted display unit in lowered and raised positions.
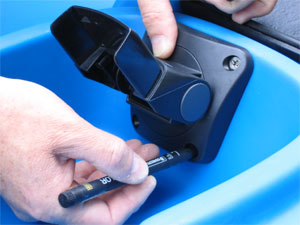
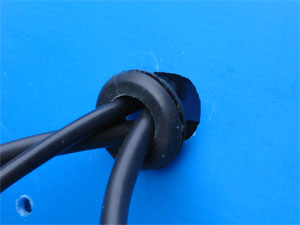
A slot was then marked in the centre of the Finder base to accommodate the transducer and power cables, the slot is made slightly deeper than the thickness of the cables and long enough to accommodate the transducer cable doubled up and the power cable single thickness, we used a rubber grommet to seal, this area is very well protected so there is little need for sealant, although a small dab can do no harm.
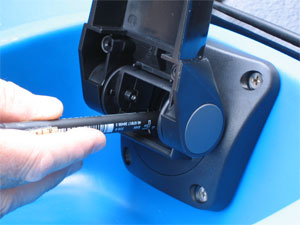
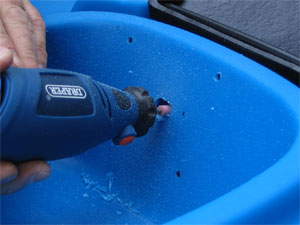
Marking for cable slot, drilling out the cable slot.
Next job was to fit the transducer, feeding the cable up through the hole in the hull and through the large white nut supplied with the transducer kit, ensuring that the transducer was fat section forward and fitted neatly and well protected within the moulding in the hull. The nut was then tightened by hand.
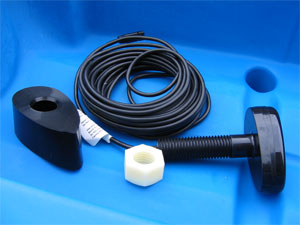
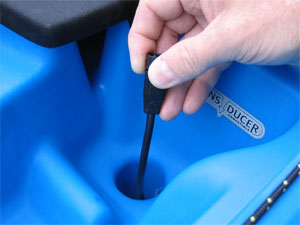
The transducer kit. Running transducer cable through scupper hole.
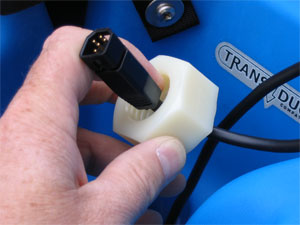
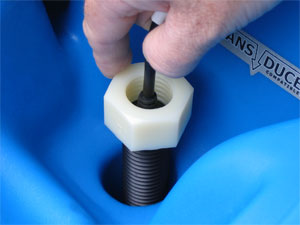
Slipping transducer cable through nylon nut and hand tightning transdcuer in position.
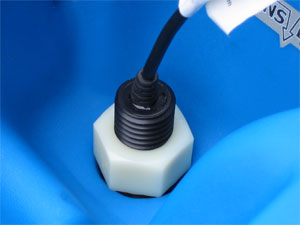 Fitted transducer.
The transducer cable and power cable was fed through the rubber grommet and into the hull. We then cut out one of the cable slots in the Finder base mount so that cable sat neatly. The transducer and power plugs are were then fed through the base of the Finder base mount and inserted into the cable holder. The Finder base can then be bolted in position using large washers on the back of the bolts to reduce the chance of pull through when adjusting the display, the top two washers may need shaping to fit, alternatively we could have made up a plate to mimic the finder mount's shape to give an even more secure fit.
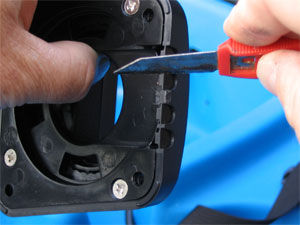
Cutting cable slot in base, feeding cables through rubber grommet and into hull.
Power and transducer cables fed through base and fitted to cable housing.
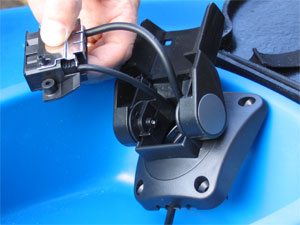
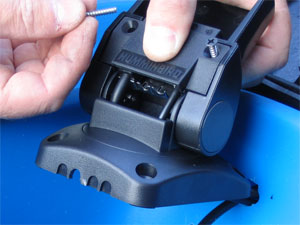
Plate added to stop cables pulling out, and all screwed together.
We then used a pair of cable clips to route and tidy the transducer cable, these were both bolted in position given that access was so easy through the main hatch and rod pod. Before tightening the bolts the excess cable was pulled through the rubber grommet, the cable wound up and secured with cable ties against the starboard forward scupper moulding inside the hull.
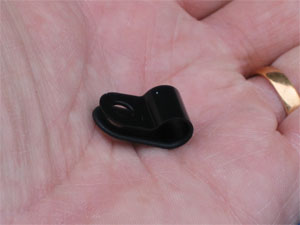
Cable clips.
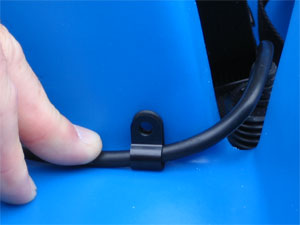
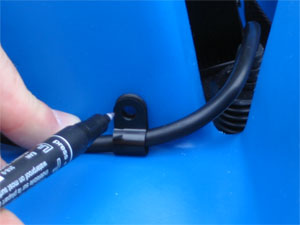
Positioning and marking holes for cable clips.
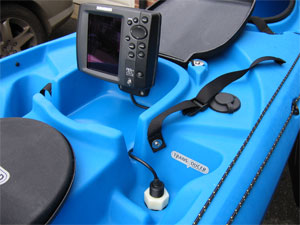
Cable neatly routed.
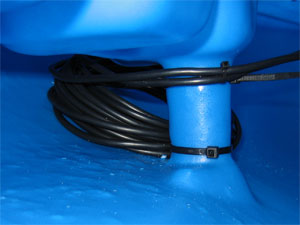
Spare transducer cable coiled and clipped to scupper moulding inside the hull.
A 1 amp inline fuse was added to the positive side of the power cable before testing.
The battery can be housed in a number of ways, one of the easiest is a small dry bag, alternatively use a locking air tight sandwich box.
The right battery size will depend on how long you intend to be out using the finder, this unit with its colour screen, temperature gauge and GPS is quite power hungry, a 7.2amp battery is probably as small as you would want, I keep a pair charged for weekend trips, alternatively a 12 or 16amp battery may be a better choice for those who spend a lot of time on the water.
Disclaimer:
Installing hardware may cause damage and/or void manufacturer warranties.
The information we provide is a free reference guide only. The author of this information, sponsors and the owners of the website that host this information are not liable for any problems or issues that arise from the use of this information. Users of this information hereby acknowledge that all use of this information is done by their own free will, at their own sole risk, understanding that injury or death could occur.