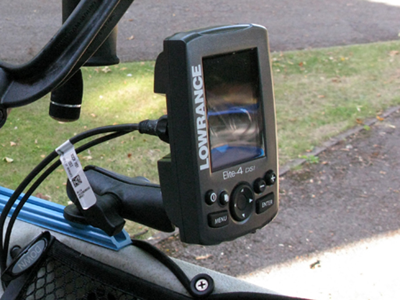
Fitting a Lowrance Elite 4-DSI
I had used the smaller 4 Series Lowrance fish finders in Texas and had been impressed at how much had been squeezed into such a small package.
So with the Hobie Revolution 13 needing a finder I ordered one.
The Lowrance Elite-4-DSI.
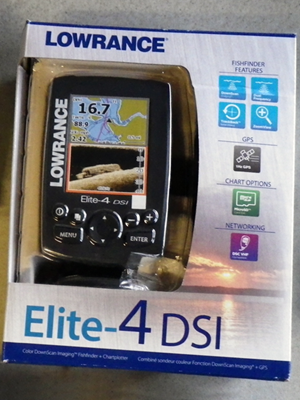
I was going to fit to the gunwale close to the seat, with the intention of being able to switch to having it on a YakAttack rail system as soon as the new GTSL90 rails became available.
The Lowrance head unit can be fitted to a bespoke RAM mount which negates the need to use the standard big Lowrance base.
So one was ordered. RAM-B-202-LO11 for the quick release and then RAM-B-238 1" ball with diamond base and RAM-B-201 Arm.
First job was to get seated and position the RAM base on the gunwale, so that I could reach the finder whilst fishing and to keep the head unit out of the way of my legs and feet/Mirage Drive, but not so far back that I couldn't cover the holes with the new rail system when it arrived.
I drew a pencil line along the centre of the gunwale so that everything was marked and positioned centrally.
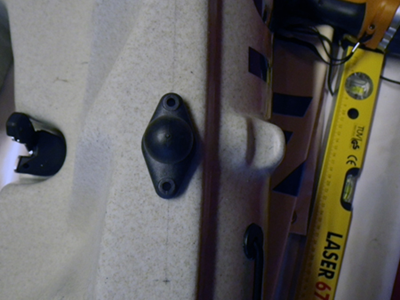
Once positioned the first hole was marked and drilled.
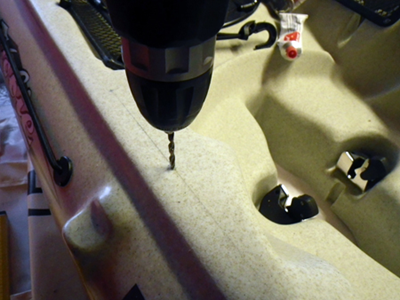
And a bolt fitted before drilling the second hole.
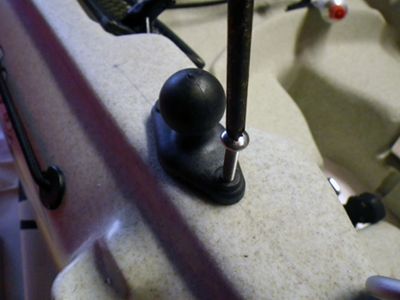
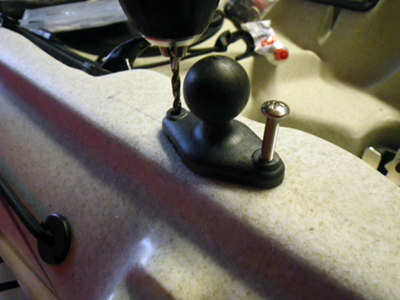
With both holes drilled and the holes cleaned up, burrs removed.
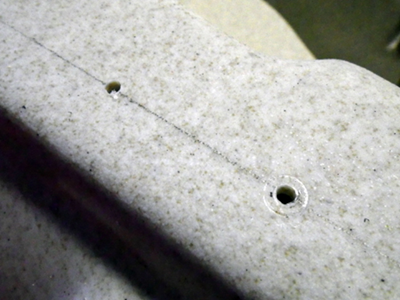
I added a little silicon sealant adhesive to each hole.
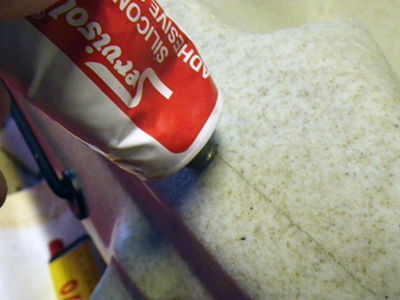
And then screwed the fixing tight, adding washers and nuts to the reverse.
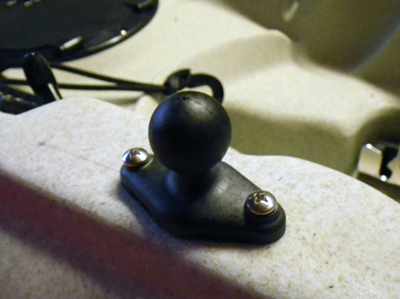
Thats the head unit fitted.
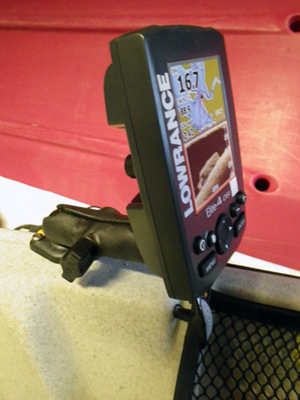
Now for the cabling.
I wanted to keep the cables tidy and have the least amount of cable exposed in the cockpit. I also needed it to be watertight and above the waterline where the cables went through into the hull.
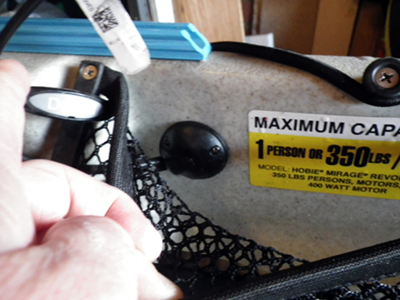
So I removed the tackle tray webbing from around the tackle tray pocket.
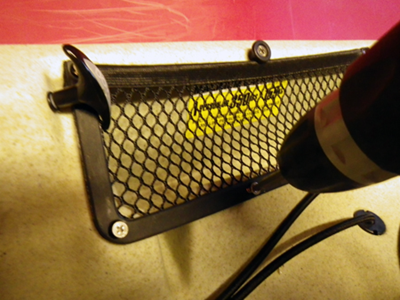
Fitted the cable to the head unit and worked out the route that I wanted the cable to take.
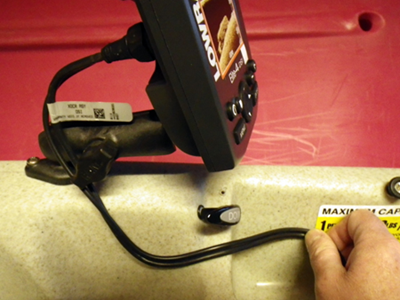
And then drilled a pilot hole.
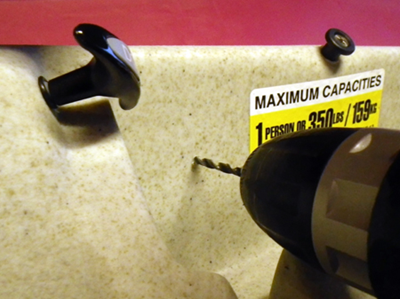
Followed by a larger hole which was just big enough for the head units plug to fit through.
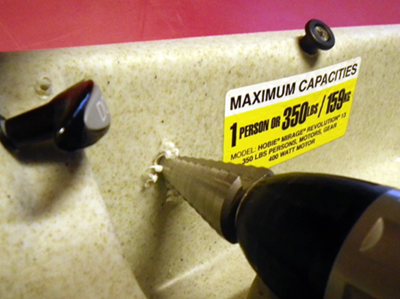
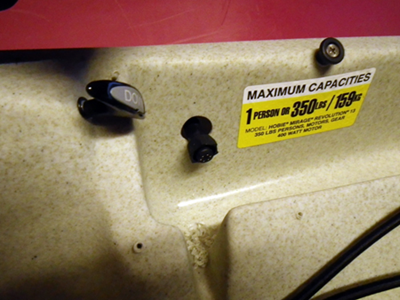
I wanted the cabling to exit sideways from the cable gland, so had to order the gland from the USA as there was nothing as small as this available in the UK.
The one chosen is very similar to the ones fitted to all new Hobie Fishing Kayaks as standard.
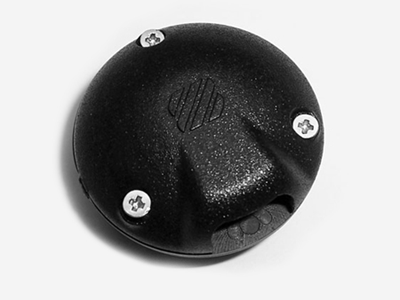
Tackle tray webbing refitted and the cable exiting the rather neat gland. The cable also slips under the Tackle tray webbing to keep it all neat and tidy.
Next thing to fit is the transducer, so out with the plasticine.
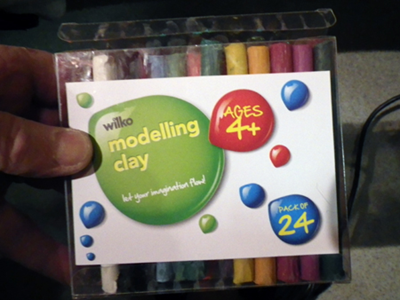
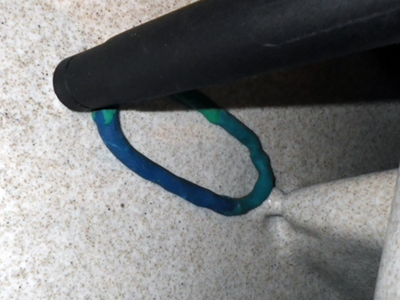
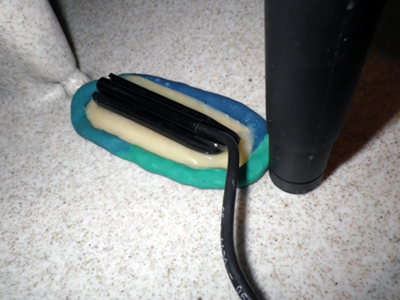
Rolling a large sausage big enough to contain the transducer which was then positioned inside the hull where I wanted to fit the transducer. This is just behind the mast post and infront of the Mirage Drive slot.
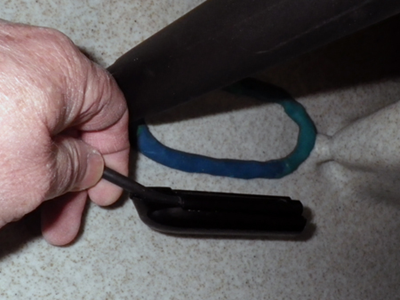
The transducer was then roughened up a little with some 180 grain sandpaper.

Only a light key is required.
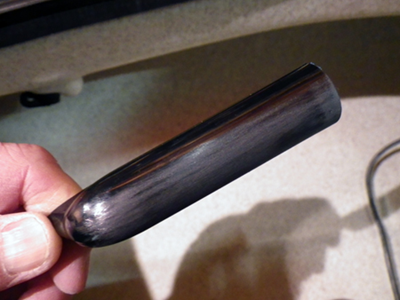
To fix to the hull we used Marine Goop, this was the first time I have used this material and I have to say its the easiest adhesive that I have used to date. Its taken me 13 years to be able to get hold of some, at first it wasn't available in Europe and then it was out of stock everytime I enquired.
Care has to be taken at this stage that there are no bubbles in the adhesive and also that the transducer is upright, due to its rounded shape the transducer does have a habit of rolling in the adhesive and trying to settle on its side, a heavy weight placed ontop of it kept it still during the curing process. I left it 48 hours before moving.
There are plenty of options when it comes to battery placement. I've used sandwich boxes and drybags both to good effect in the past. But with a tackle box which I didn't use sited in the cockpit hatch, which with a little alteration would make a perfect battery box, it was out with the Stanley Knife.
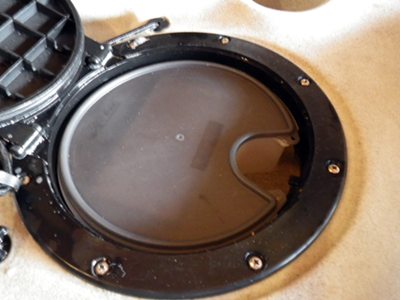
Firstly trimming the internal walls so that the battery sat tightly in the centre.
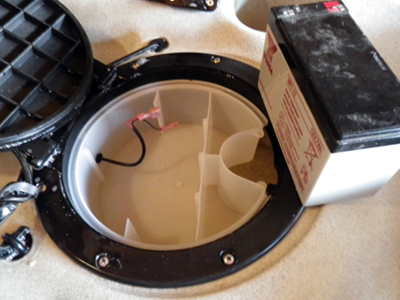
And then drilling a small hole to pass the cables through and a rubber gland to keep everything dry. Job done.
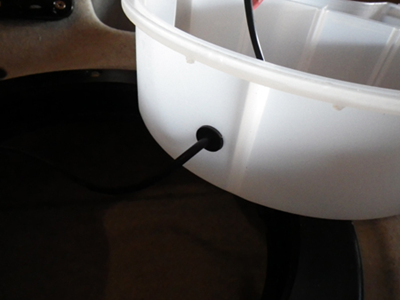
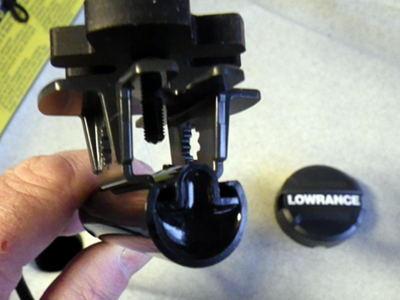
Lowrance do offer alternative methods of fitting one of their transducers, one method is to use their Scupper Hole Transducer Mounting System.
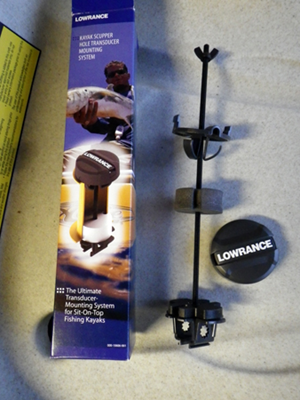
The Lowrance Elite 4-DSI transducer literally slides into place. But sadly with the Hobie Revolution 13 having such a shallow channel under the scupper hole in the tankwell it left the transducer too low and very funderable. I do see this system working very well on other brands of kayak though.
And finally the YakAttack GTSL90 tracks arrived and we were able to make the RAM mounting system even more adjustable.
